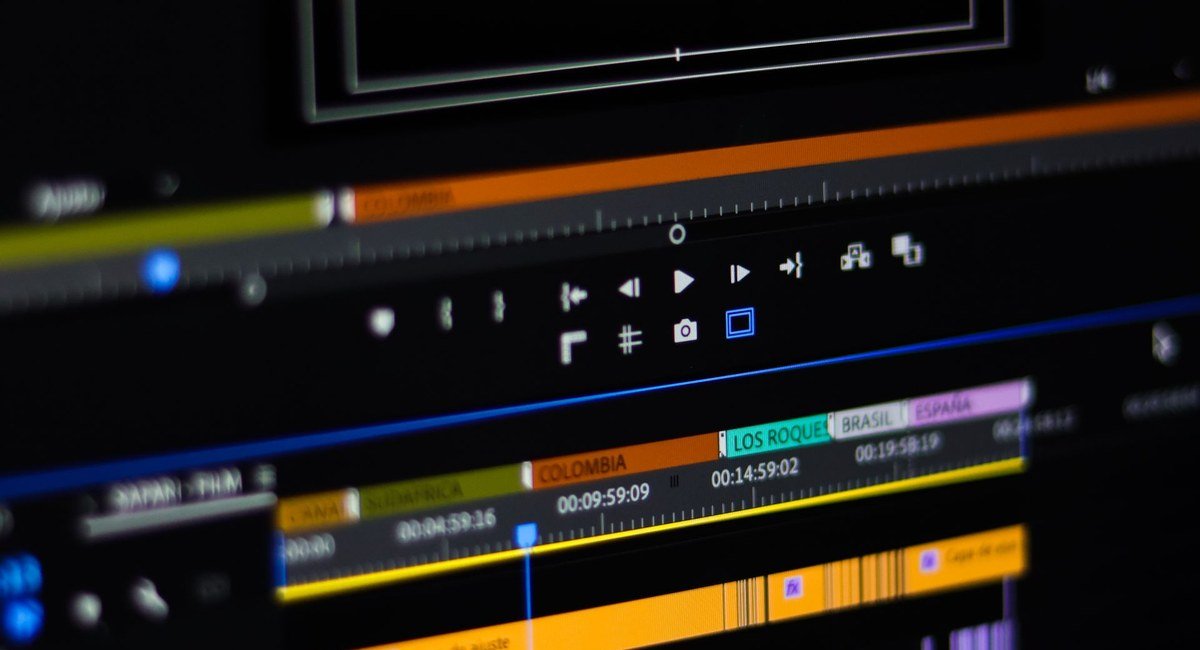
Scroll through Instagram or TikTok and you will find motion design reels that look like they were made in a professional video studio, yet some were created without opening After Effects at all. Instead, creators are using Claude Code to write the animation, generate scenes, connect AI video models, and assemble the finished result through a code-based workflow.
Claude Opus 5.5 cannot generate or render video on its own. It takes text and images as input and produces text as output. What makes it useful for video creation is its ability to act as the brain behind the workflow. It can write the code for an animation, coordinate external video-generation tools, and bring different parts of the production process together.
This guide covers two ways to build videos with Claude. The first is code-driven motion design using Remotion, where Claude writes React components that can be rendered into a finished MP4. The second uses an MCP server to connect Claude with AI video models such as Runway, Kling, and Pika, allowing you to generate individual video clips from your conversation.
These approaches are not mutually exclusive. A single project can use Remotion for titles, graphics, and transitions while using AI video models for footage and visual sequences. By the end of this guide, you will have both workflows set up and understand how they can work together in a practical video production pipeline.
What you need before starting
- A Claude Pro or API plan with access to Opus 5.5, or Claude Code installed on your machine
- Node.js 18 or newer, which you can check with
node --version - FFmpeg installed for video assembly and conversion
- About 30 minutes for the one-time setup
Claude Opus 5.5 was released on September 22, 2026 as the first model in Anthropic’s Claude 5.5 family. It is built for long agentic coding sessions, with a 1 million token context window and output priced at $4 per million input tokens and $20 per million output tokens.
That combination of strong code generation and long context is exactly what makes it good at building multi-scene videos.
The two paths at a glance
Path 1: Code-driven motion design
Every element is defined in code, giving you precise control over timing, typography, colours, layout, and animation. Because the output is deterministic, the same project will produce the same result each time.
This makes it well suited to kinetic typography, logo animations, data visualisations, UI animations, and product explainers.
Path 2: Generative video
Instead of defining every frame, you describe the shot and let a video model such as Runway or Kling generate it. This works particularly well for realistic footage, cinematic scenes, backgrounds, product shots in fictional environments, and visual sequences that would be difficult or time-consuming to create with code.
Why use both?
The two approaches complement each other. Claude can use code-based animation where precision matters and generative video where realism and visual variety matter. A single project can combine generated footage with precisely controlled graphics, text, transitions, and other motion elements.
Path 1. Code-driven motion design with Remotion
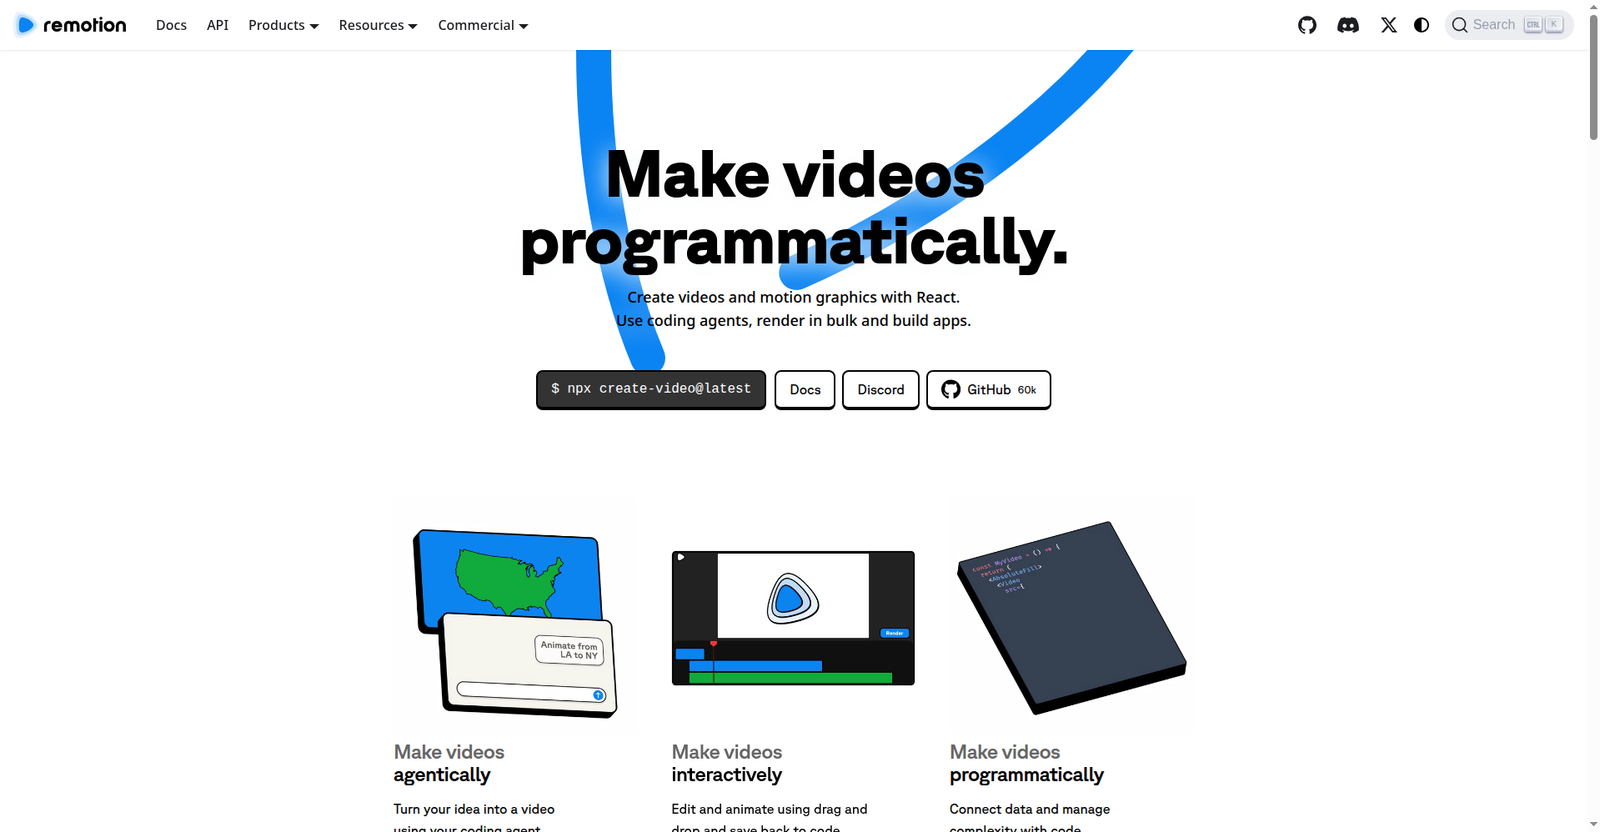
Remotion is an open source framework that turns React components into videos. Each frame of your video is a rendered React tree. Animation is simply a function of the frame number.
Remotion screenshots your code 30 times per second and stitches the frames into an MP4. Because everything is code, Claude Opus 5.5 can write the whole thing.
Step 1. Install Claude Code and select Opus 5.5
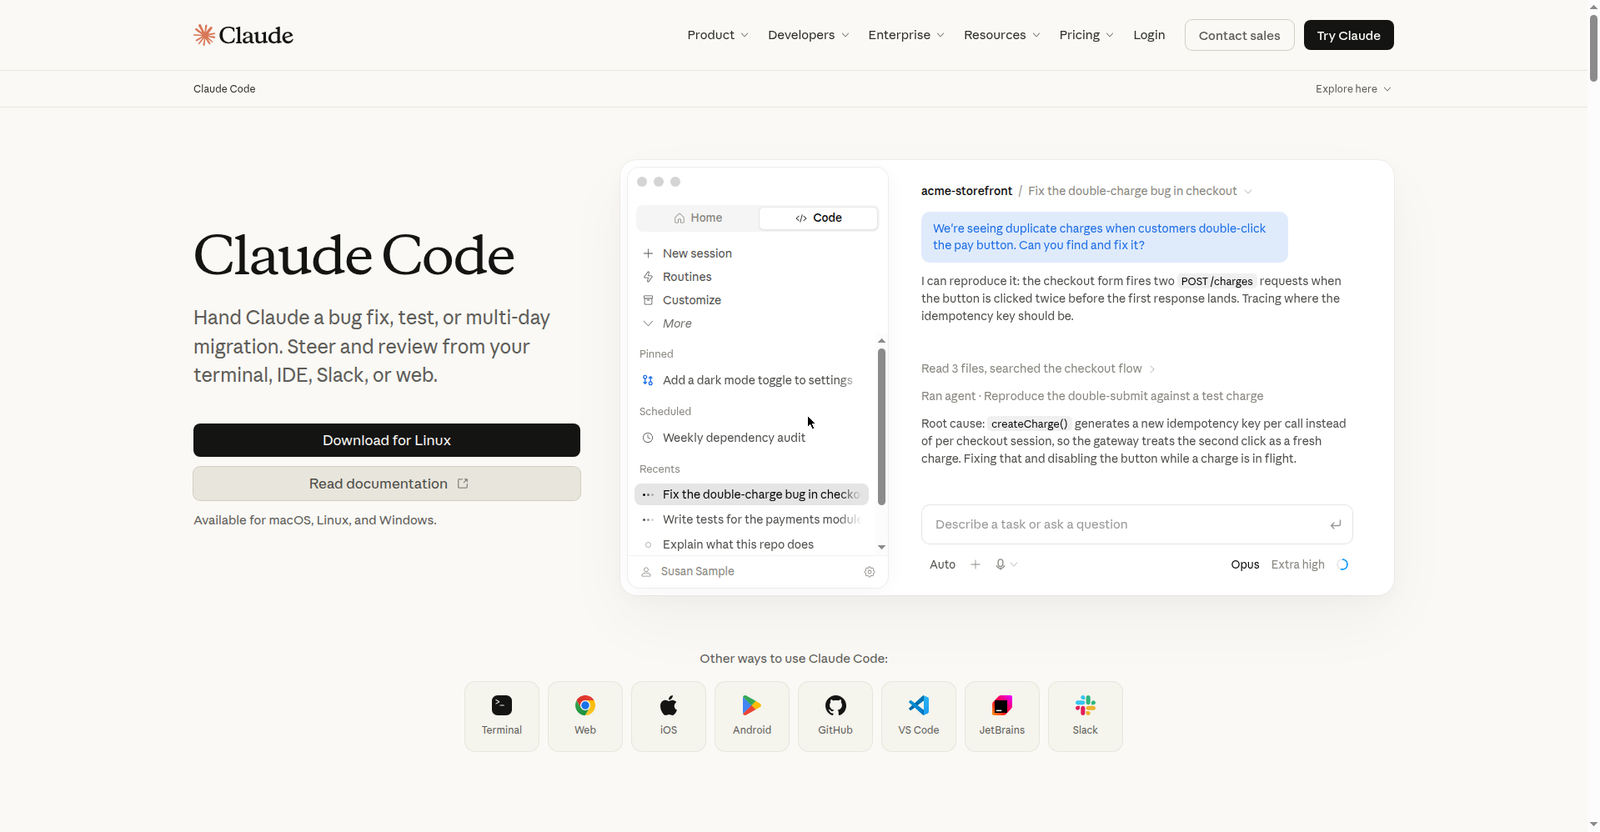
If you have not installed it yet, get Claude Code from Anthropic and sign in. Open a terminal in an empty project folder and run claude. Make sure Opus 5.5 is the active model. Its agentic coding ability is what carries the multi-file video work in this guide.
Step 2. Install Remotion’s official Claude skills
Remotion ships an official skill pack that teaches Claude Code its APIs, animation patterns, and best practices, so the code it generates actually works. Install it once, globally.
npx add-skill remotion-dev/skillsAfter this, Claude Code understands concepts like compositions, useCurrentFrame, interpolate, spring, and Sequence without you having to explain them.
Step 3. Scaffold your video project
npx create-video@latest
cd my-video && npm install
Pick the blank template when prompted. You now have a project with a src folder for your scenes, a public folder for static assets like logos and fonts, and the Remotion CLI ready to go.
Step 4. Describe the video and let Claude write the scenes
This is where Opus 5.5 does the heavy lifting. Give it a clear brief with the format, duration, scenes, and visual style. Here is an example of a brief that works well.
Make a 15 second 1080x1920 product teaser for a coffee brand.
Three scenes. Scene 1 is a logo reveal with a spring animation.
Scene 2 is kinetic typography reading "Brewed for builders"
with words sliding in one by one. Scene 3 is a call to action
with the website URL fading up. Dark background, amber accents.
Claude will create the composition files, register them in the project root, and wire up the timing. A single animated title card looks like this under the hood.
import { AbsoluteFill, useCurrentFrame, interpolate, spring, useVideoConfig } from "remotion";

export const TitleCard = ({ title }: { title: string }) => {
  const frame = useCurrentFrame();
  const { fps } = useVideoConfig();

  const opacity = interpolate(frame, [0, 20], [0, 1], {
    extrapolateRight: "clamp",
  });
  const scale = spring({ frame, fps, config: { damping: 100 } });

  return (
    <AbsoluteFill
      style={{
        backgroundColor: "#0b0b0f",
        justifyContent: "center",
        alignItems: "center",
      }}
    >
      <h1
        style={{
          color: "white",
          fontSize: 90,
          opacity,
          transform: `scale(${scale})`,
        }}
      >
        {title}
      </h1>
    </AbsoluteFill>
  );
};
The mental model is simple. Everything is a function of the frame number. There are no timers and no CSS transitions inside Remotion components. You ask what the scene should look like at frame N and compute it.
Step 5. Preview in Remotion Studio
npx remotion studioThis opens a hot-reloading editor in your browser with a timeline you can scrub. Watch each scene, then tell Claude what to change in plain language. “Make the logo reveal slower” or “change the accent color to teal” are enough. It edits the code and the preview updates.
Step 6. Render to MP4
npx remotion render MyVideo out/video.mp4Replace MyVideo with your composition id. Remotion renders every frame through headless Chromium and stitches them into the final file. For social formats, register a 1080×1920 composition for vertical or 1080×1080 for square and render the same way.
Path 2. AI-generated clips with the Krea MCP server
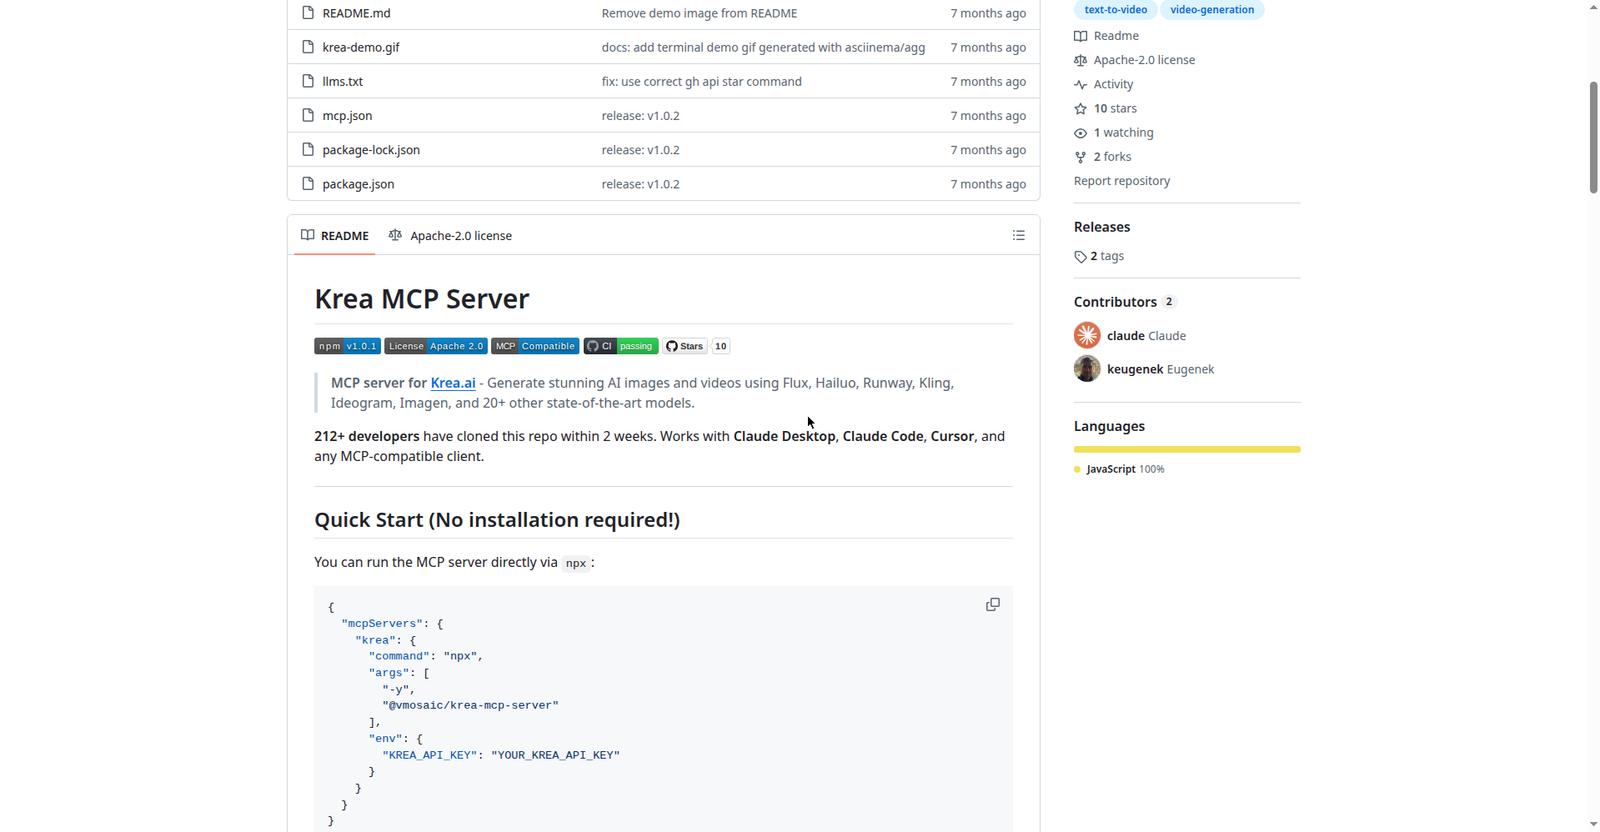
For photorealistic shots, connect Claude to generative video models through MCP. The Krea MCP server exposes more than 20 models, including Runway Gen-4, Kling, Pika 2, Veo 3, Hailuo, and Sora 2, through a single interface that Claude Code can call as tools.
Step 1. Get a Krea API key
Create an account at krea.ai and generate an API key from your dashboard. Video generation usage is billed through Krea, so check their current pricing before rendering long clips.
Step 2. Add the MCP server to Claude Code
One command connects it. Replace the placeholder with your real key.
claude mcp add krea -e KREA_API_KEY=your-api-key -- npx -y @vmosaic/krea-mcp-serverRestart Claude Code and confirm the server is connected. Claude can now call generate_video and generate_image directly.
Step 3. Direct your shots in plain language
Generate a 5 second cinematic clip of a coffee cup on a wooden
table at sunrise, slow push-in, shallow depth of field.
Then generate a second clip of coffee beans falling in slow motion
against a dark background.
Claude picks a suitable model, sends the prompt, polls for completion, and saves the clips into your project. Ask for image-to-video when you want to animate a still you already have, like a product photo or a logo lockup. If you prefer per-model control, Pixazo offers dedicated MCP servers for individual models, added with claude mcp add pixazo https://gateway.pixazo.ai/pixazo/mcp.
Putting it together
You now have code-driven scenes from Remotion and generative clips from the Krea MCP server. For assembly you have two good options. The simplest is FFmpeg concatenation for clips that just need joining.
ffmpeg -f concat -safe 0 -i filelist.txt -c copy final.mp4For real timeline work, the open source chatcup-local MCP server gives Claude timeline editing, overlays, motion graphics, Whisper transcription for captions, and FFmpeg export, all running locally. Add it with claude mcp add chatcup-local -- node /path/to/chatcup-local/build/index.js after cloning and building the repo, then ask Claude to assemble, caption, and export the final cut.
Prompt recipes that work well
Claude Opus 5.5 follows detailed briefs closely, so put the decisions in the prompt instead of discovering them across five revisions.
Specify the canvas first
Resolution, aspect ratio, duration, and frame rate belong in the first line of your brief. Writing “1080×1920, 15 seconds, 30fps” up front removes a whole round of corrections later.
Describe scenes as beats
Number your scenes, give each a duration in seconds, and state the single action per beat. One action per scene keeps the timing clean and makes revisions trivial, because you can point at scene two instead of describing timestamps.
Name the motion
Use concrete motion vocabulary like spring in, slide from left with ease-out, slow push-in, and cross dissolve. Claude maps these directly to Remotion primitives or video model parameters, while vague words like “dynamic” produce vague results.
Lock the palette
Give exact hex codes for background, text, and accents. Code-driven scenes will match them exactly on every render, which is what keeps a series of videos looking like they belong to the same brand.
Ask for editable structure
Tell Claude to put each scene in its own component file with props for text and colors. Your next ten videos then become prop changes rather than rebuilds, which is where this workflow starts compounding.
What it costs
Opus 5.5 API pricing is $4 per million input tokens and $20 per million output tokens, with cache reads at $0.20 per million. Most of the spend in a video build lands in output tokens as Claude writes the components.
As a rough estimate, a 30 second Remotion video typically costs $2 to $4 in API usage, assuming around 100K output tokens and a few hundred thousand input tokens with heavy cache reuse. A 60 second video roughly doubles the scenes and the code, so expect $4 to $8. Long revision loops and complex scenes push costs up, while reusing an existing project as a template pushes them down.
There is also a fast mode at roughly double the price for 2.5x speed, which is worth it when you are iterating against a deadline. If you work inside a Claude Pro subscription instead of the API, the same workflow counts against your normal usage limits rather than billing per token.
Generative clips are billed separately by the video provider. Krea meters usage per generation, and the price varies by model, with short test clips costing little and long cinematic renders adding up. Generate at short durations while iterating, check current pricing on krea.ai, and only render final lengths once the shots are approved.
Watch it done end to end
The takeaway
Motion design has traditionally meant choosing between professional software with a steep learning curve or template-based tools that can make every project look similar. Claude Opus 5.5 and Remotion offer a different approach: you can describe what you want to create, let Claude turn that direction into code, and work with the underlying project instead of a fixed template.
The result is more than a finished video. You get reusable, editable code that can be versioned, modified, and adapted for future projects. When you add an MCP video server, you can also bring photorealistic AI-generated footage into the same workflow.
The goal is not to replace every traditional video tool. It is to make sophisticated video production more accessible and give individuals a faster way to move from an idea to a finished video. Start with a simple 15-second project, learn the workflow, and build from there.